The traditional planting season is from late autumn to March/April, but as noted above, cell grown trees, shrubs and hedging can be planted almost anytime of the year; though avoid dry periods of weather, as newly planted whips will need to be watered well until established.
When your trees arrive they should be handled with care, kept upright and ideally kept by a north facing wall away from strong sunlight and out of the wind. And, make sure you protected plants from mice and other animals who may like to eat them.
Ensure your trees are kept moist, if weather if dry or windy, water using a normal rose on a watering can or hose. The best way to judge how damp plants should be kept is to see how wet they are when they arrive and use this as a reference.
It is best to plant your trees within a week or two weeks of arrival.

Assuming you are using tree guards and stakes to protect your plants, first mark out where you are going to plant each of your trees.
Use the tip of the stake or bamboo push lightly into the ground, then once you have marked out the whole area and you are happy with your plan, then you can move on to planting out your trees…
We advise using Rootgrow in the planting of cell grown trees; Rootgrow helps a new plant establish quicker and helps it to develop an increased tolerance to poor soil conditions and droughts.
Next, grab a bucket and fill with an amount of Rootgrow, then, lay 10 – 15 of your trees out at a time; make sure you don’t expose the tree cells to bright sunshine or wind for too long as, they’ll dry out and could die.

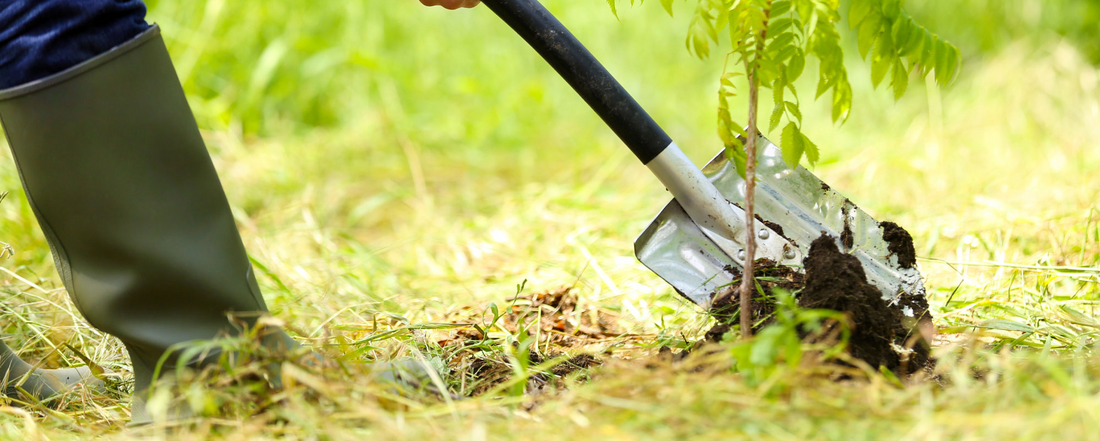
To plant out, it’s best done with a planting spear, as it’s quicker and more effective than using a regular digging spade.
So, assuming you’re using a planting spear, place spade into the ground push/tread the point to 1cm more than the depth of the cell, wiggle forwards and backwards then turn the spade through 180 degrees; you should now have a perfect round hole in to which your can plant your tree cell.
Before planting the tree cell into the hole, dip in the Rootgrow (roughly 3.5g per cell or enough to pick up 10-20 granules).
The cell should be at least 1cm below the top of the soil level, then just use soil left on the spear to cover the top of the cell.

The cell needs to in the ground enough that it can’t be pull out or fall over; to ensure this doesn’t happen put the spear back in the ground 50mm from the nearest side of the cell and then lever against your boot to squeeze the soil onto the cell. You should have no air gaps around the cell and roots don’t grow in air.
If you’re using tree guards to protect against pests, then we suggest fitting a guard to each tree whip as you go along, that way you won’t be in danger of missing one out.
Finally consider weed control; newly planted tree whips should be kept free of weeds, as these can supress the growth of a plant and even cause it to die off. We suggest fitting bio mulch mats around the base of a whip after you’ve fitted your tree guard (if you’re not using tree guards you can still fit a mulch mat), and secure the mat in place with bamboo pegs.
We offer a wide range of tree guards, shelters, spirals, canes, stakes and weed control to help safeguard and promote the healthy establishment of your newly planted tree whips.
To view our range of planting accessories, click here.
No matter how big or small your planting project, we pride ourselves in providing customers with the expert support and guidance specific to their requirements; so whether you’re looking for one tree or several thousand plants, please get in contact to discuss your needs with a member of our expert team – please contact us for further help and guidance.
To find out more about Why Choose Cell Grown Trees? please read our blog post.